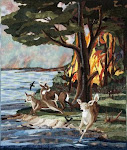
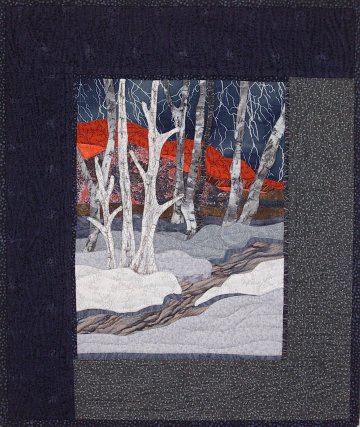
My artwork
has appeared in a number of exhibitions in art galleries and in museums. People
are always interested in how a textile artist presents their art for such
events. Because I design 3-layered textiles in quilted form, which are created
to be displayed on walls, I have two ways of preparing my work to be included
in gallery venues. A traditional method follows:
An
inexpensive, traditional method would involve preparing a 4” wide sleeve that
is attached along the back edge of the piece. The purpose of a hanging sleeve
is to evenly support the weight of the quilt. The double sleeve, resembling a
tube, also protects the quilt from being damaged by the hanging rod, dowel, or wooden
strip. To make the sleeve, you will need muslin or fabric to match the quilt
backing.
Directions:
Cut a strip
8½" wide and as long as the top edge of the quilt. Fold the piece lengthwise, wrong side
together. Stitch the longest raw edges
together with a ½" seam. Leave the two ends open. Press flat to make the
first crease and the fold along the bottom edge of sleeve. Press the raw seam to one side; it will
run down the middle of the casing. It will not show because the raw seam edge
will be flat against the quilt and can not be seen once sewn down. Roll the first crease down to form and press a
second crease ¾" – 1" from the first one forming some extra ease or
slack.
Measure and
hem the ends so that the sleeve extends only to one inch on each side of the finished
quilt edges. NOTICE: The sleeve has some slack to accommodate the size of the
rod and to permit the quilt to hang flat. Without slack, the quilt might pucker
or bunch up along the hanging rod.
Place & pin the sleeve on the quilt with the second crease along the lower edge of the
binding at the top of the quilt back. Using a Blind Stitch, sew along the
second crease and the bottom edge. No stitches should appear on the front side
of the quilt. You may also stitch along the open ends to attach to quilt back,
remembering to leave the opening for the rod to slip into.


.jpg)


No comments:
Post a Comment